
I've even started working through ideas for one of my long-closeted UFOs (I think I even have a plan now!). Hopefully, I can keep the momentum going.


 Block number/name: A-12 “Framed Fancy”




 Block number/name: A-11 “Pebble’s Protest”


 Block number/name: C-11 “Soldiers and Sailors Monument”
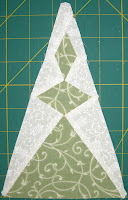 Block number/name: TR-9 “Needle’s Point”
 Sharks are my favorite animals. I've never found them scary (well... maybe Jaws). Rather, they are amazing, fascinating creatures. They have been around for millions of years, continually evolving and changing. And I'm just in awe. I'm not saying that I would want to meet a great white up-close and personal... but, at the same time, that would be awfully cool.
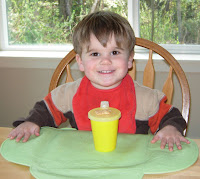 I am a stay at home mom to a wonderful and amazing little boy. Always, I feel blessed and grateful that I can be that for him. But sometimes, I really wish I was working and contributing financially to the household. Sometimes, I worry that I'm not good enough to be doing this whole at home mom thing, and that a daycare would offer more somehow (socialization, activities, variety). And sometimes, I just miss going to work each day and facing those kinds of challenges (as opposed to the challenges of a rampaging toddler).
 Block number/name: C-10 “Patriot’s Lantern”
 Block number/name: M-2 “Duff’s Bluff”
 Block number/name: RS-12 “Linda’s Church in the Valley”
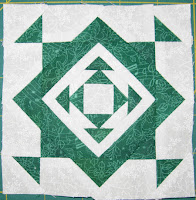 Block number/name: A-9 “Cabin Fever”


