
There was a fair amount of handmade gifting this year. I gave my mother-in-law the Blossom Bag I made, and my sister-in-law received the Fringed Hobo Bag. In addition, I made a pair of nifty pajama pants for my husband (more on those later-- I'm still hoping to get some pictures of him actually wearing them!). And, finally, completed just in time for Christmas:

Woo! It took three-and-a-half years, but my Prairie Pinwheels quilt (which has now been officially titled "Forest Canopy") is finally finished. As I technically gave it to my father-in-law two years ago (via an IOYAQ (I Owe You A Quilt) card), it was definitely time. The pattern is from the July/August 2008 issue of McCall's Quilting. It is a large quilt measuring 85 1/2" x 109 1/2" (making it very difficult to take good pictures of it-- so many thanks to my intrepid quilt-holding volunteers!).

Ahhh.... *happy sigh* I just love this pieced back. And I love how well the quilting shows all over.

Quilting it was a slow process. I started by stitching-in-the-ditch to stabilize the layers and then did all of the free-motion work. Since all of my quilting designs were independent motifs, it involved a LOT of starting and stopping. Slooow process.

I did the cream-colored areas first using a King Tut 40/3 variegated thread, "Sands of Time" (#920). I love how the weight of the thread really makes the quilting pop.
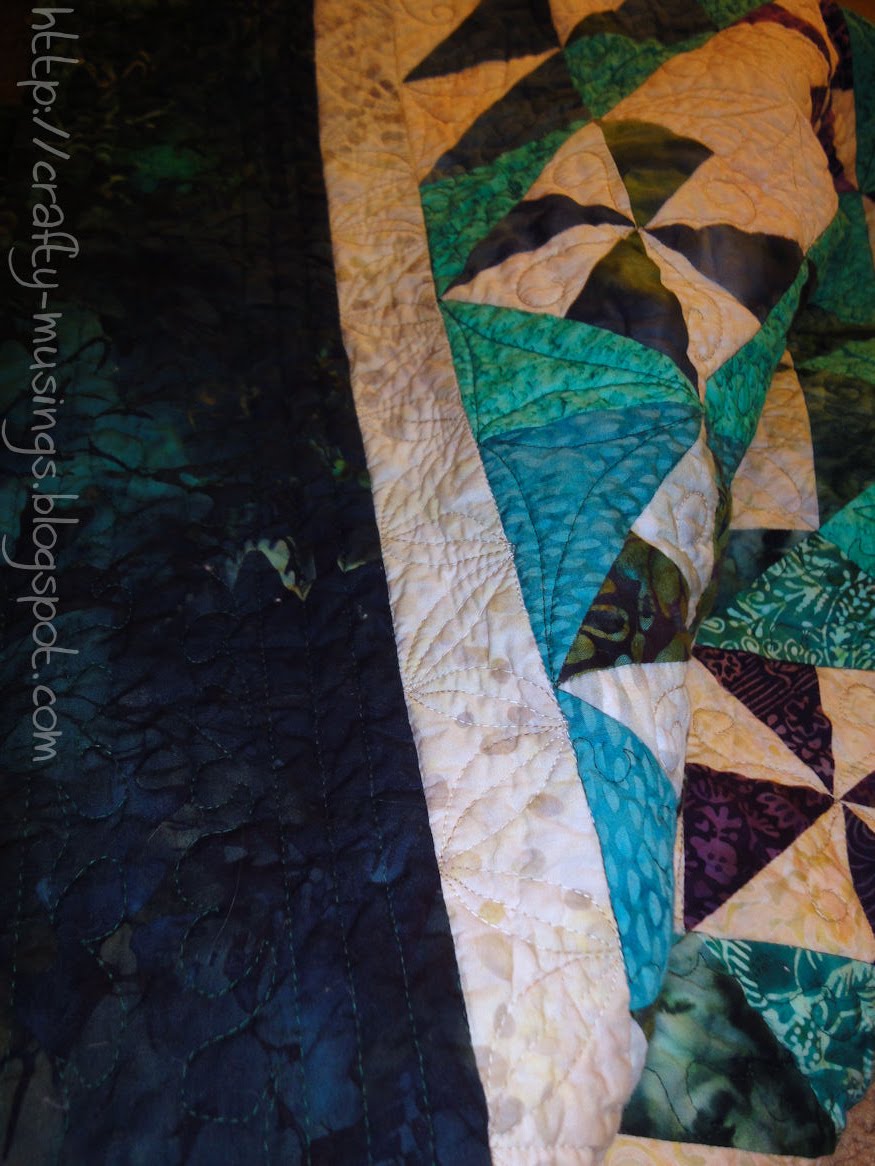
Then I completed all of the green areas, including the outside border, using Aurifil Mako Cotton 50/2 (in dark green, #4026). As much as I loved quilting with it, I'm not thrilled with how subtle it is. The lighter weight really blends in with the background and the quilting is nigh invisible. For all of the effort I put into it, I really kind of wish I had used a heavier weight thread that showed a little better.

As it was getting down to the wire, I decided on a machine binding. I'm glad I did! I've had enough practice now that it looks good and I was able to accomplish it in about two-and-a-half hours. I do my machine binding using Red Pepper Quilts' method. It took a little practice, and it maybe isn't as fast as other methods, but I love the finished look (invisible from the front, as a hand-stitched binding would be), it works for me, and it allowed me to finish the quilt in time for gift-giving. (Yay!)

On the label, I repeated the wreath quilting motif I used throughout the center and in the outside border. The motif was designed with the idea of a tree's canopy-- how you stand below and look up and see the outline of the edges of the canopy, and it all looks kind of connected and of one piece with the light filtering through it and putting the canopy itself in shadow... you don't see individual leaves, but rather the outline of it all.

Not only was the quilt completed in time to give it to my father-in-law for Christmas, but it was also kitty approved!


